

If you are wondering whether it is possible to take a passport photo myself, you’re in luck! Getting a passport photo taken can be a hassle. You have to find a place to take the photo, schedule an appointment, and pay for it. However, you can take your own passport photo with just a few simple steps. Here’s a guide on how to take your own passport photo using your smartphone.
Can I take a passport photo myself?
The quick answer is “yes”, you can! But in order to get a successful photo, you must follow some rules. There is no need to take the photo at a professional photographer studio or in a photo booth. Most phone cameras can take photo that can be in line with passport photo requirements.
Simple Steps to Take a Passport Photo Yourself
Taking a passport photo yourself can be done with just a few basic steps. Here’s a step-by-step guide on how to take your own passport photo:
- Find a well-lit area: Look for a location with natural light and even lighting. Avoid using a flash as it can cause shadows and glare.
- Position your phone: Set up your phone on a tripod or stable surface at the right height. Make sure the camera is level with your face and centered. If you don’t have a tripod, ask someone to hold the phone for you.
- Prepare yourself: Dress appropriately, avoid accessories that could obscure your face, and make sure your hair is tidy.
- Set up a plain background: Use a plain, light-colored background to ensure your face stands out. Avoid busy or patterned backgrounds. You can use a plain wall, a sheet, or a piece of paper.
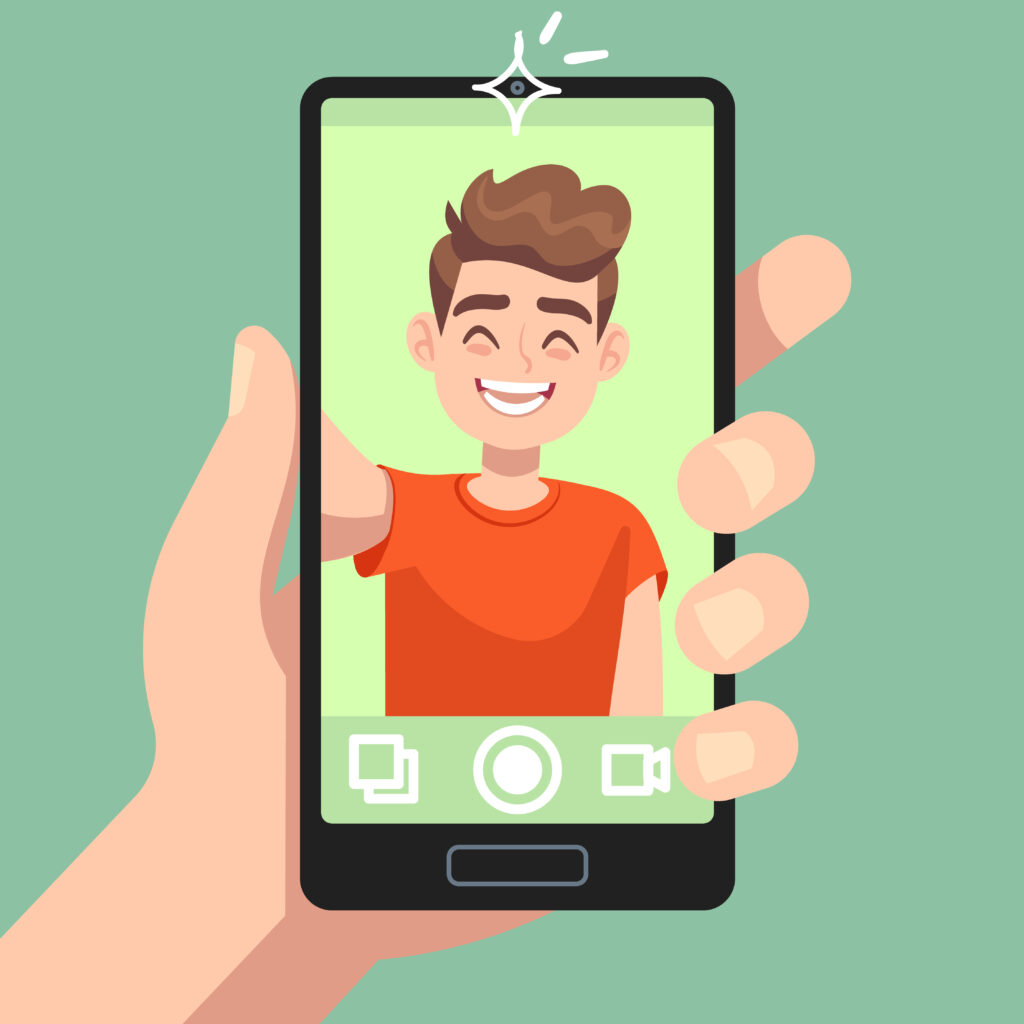
- Take the photo with Smartphone iD app: Stand or sit in front of the camera. Make sure you look directly at the camera with a neutral expression, and that your face and shoulders are visible. You should not smile or make any exaggerated facial expressions. Keep your mouth closed and eyes open. If you wear glasses, make sure there is no glare on the lenses.
- Review the photo: The app will check if the photo meets the requirements, such as proper head orientation, distance from the camera, and facial expression. The app will give you instructions on how to adjust the photo, such as tilting your head or moving further away from the camera.
- Receive your photo: Once the photo is approved by our AI system and biometric expert, you’ll receive it via email within a few minutes. You can download the photo or use our printing service to print it out on high-quality photo paper.
Can I Take a Baby Passport Photo Myself?
It’s possible to take a baby passport photo yourself, but it can be challenging. Babies need to be facing the camera with their eyes open and mouth closed. Additionally, the photo needs to meet the size requirements, and the background should be plain and light-colored. If you’re having difficulty taking a baby passport photo yourself, consider going to a professional photographer.
The Cost of Taking Your Own Passport Photo
Taking your own passport photo is a cost-effective option compared to going to a professional photographer. With Smartphone iD, you can download the app for free and take your own passport photo at a low cost, without having to leave your home. The cost of using our app is low compared to the value we provide.
What are the passport photo requirements?
The International Civil Aviation Organisation has established general rules about passport as international document for traveling. Rules that help the picture to be scanned by machines in airports. These restrictions apply to all countries worldwide, however, each country can further design their requirements in more detail (especially about exact head size, photo size and background).The United Kingdom has specified the following passport photo standards :
- printed photo size 35 x 45mm (width x height);
- from the crown of your head to your chin – must be between 29mm and 34mm high;
- not be a cut down version of a larger picture;
- digital photo size at least 600 x 750 pixels (width x height);
- at least 50KB and no more than 10MB;
- plain light-coloured background.
How to take a passport photo on your own?
If you follow these simple steps, there is a high chance that you might get a good photo.
- Wear clothes in color that is in different than the background color.
- Choose daylight to take your photo. This way you avoid the forbidden reflections on face and neck.
- Stand against a window, so window light falls on your face.
- Hold your arm straight and fully extended, to avoid false face proportions.
- Don’t smile.
- It’s best to ask someone to take a photo of you with your rear camera. It produces better quality photo.
But if you want to make sure that your photo will be accepted by the authorities, use the Smartphone iD app. It simplifies photo taking. Also you get a photo that will be first verified by experts. And what’s more, you get quickly the correct format in digital and printed format
Smartphone-iD
It is simple, cheap, and guarantees the high quality of the photo. We use:
- Artificial Intelligence,
- Our skilled staff control,
to assure you that your photo will be accepted by authorities. Take your time with the unlimited number of tries before choosing the perfect image! No need to search for a photo booth or professional photographer!
How Taking Your Passport Photo Yourself Can Save you Time & Money
Taking your own passport photo can save you time and money. You won’t have to schedule an appointment, wait in line, or pay a high fee for a professional photographer. By taking your own passport photo, you can do it from the comfort of your own home and at your own convenience.
Conclusion
Taking your own passport photo is easy and convenient with the help of Smartphone iD. Follow the simple steps, and you’ll have a passport photo that meets all the requirements. Not only is it a cost-effective option, but it also saves you time and allows you to have more control over the final